 |
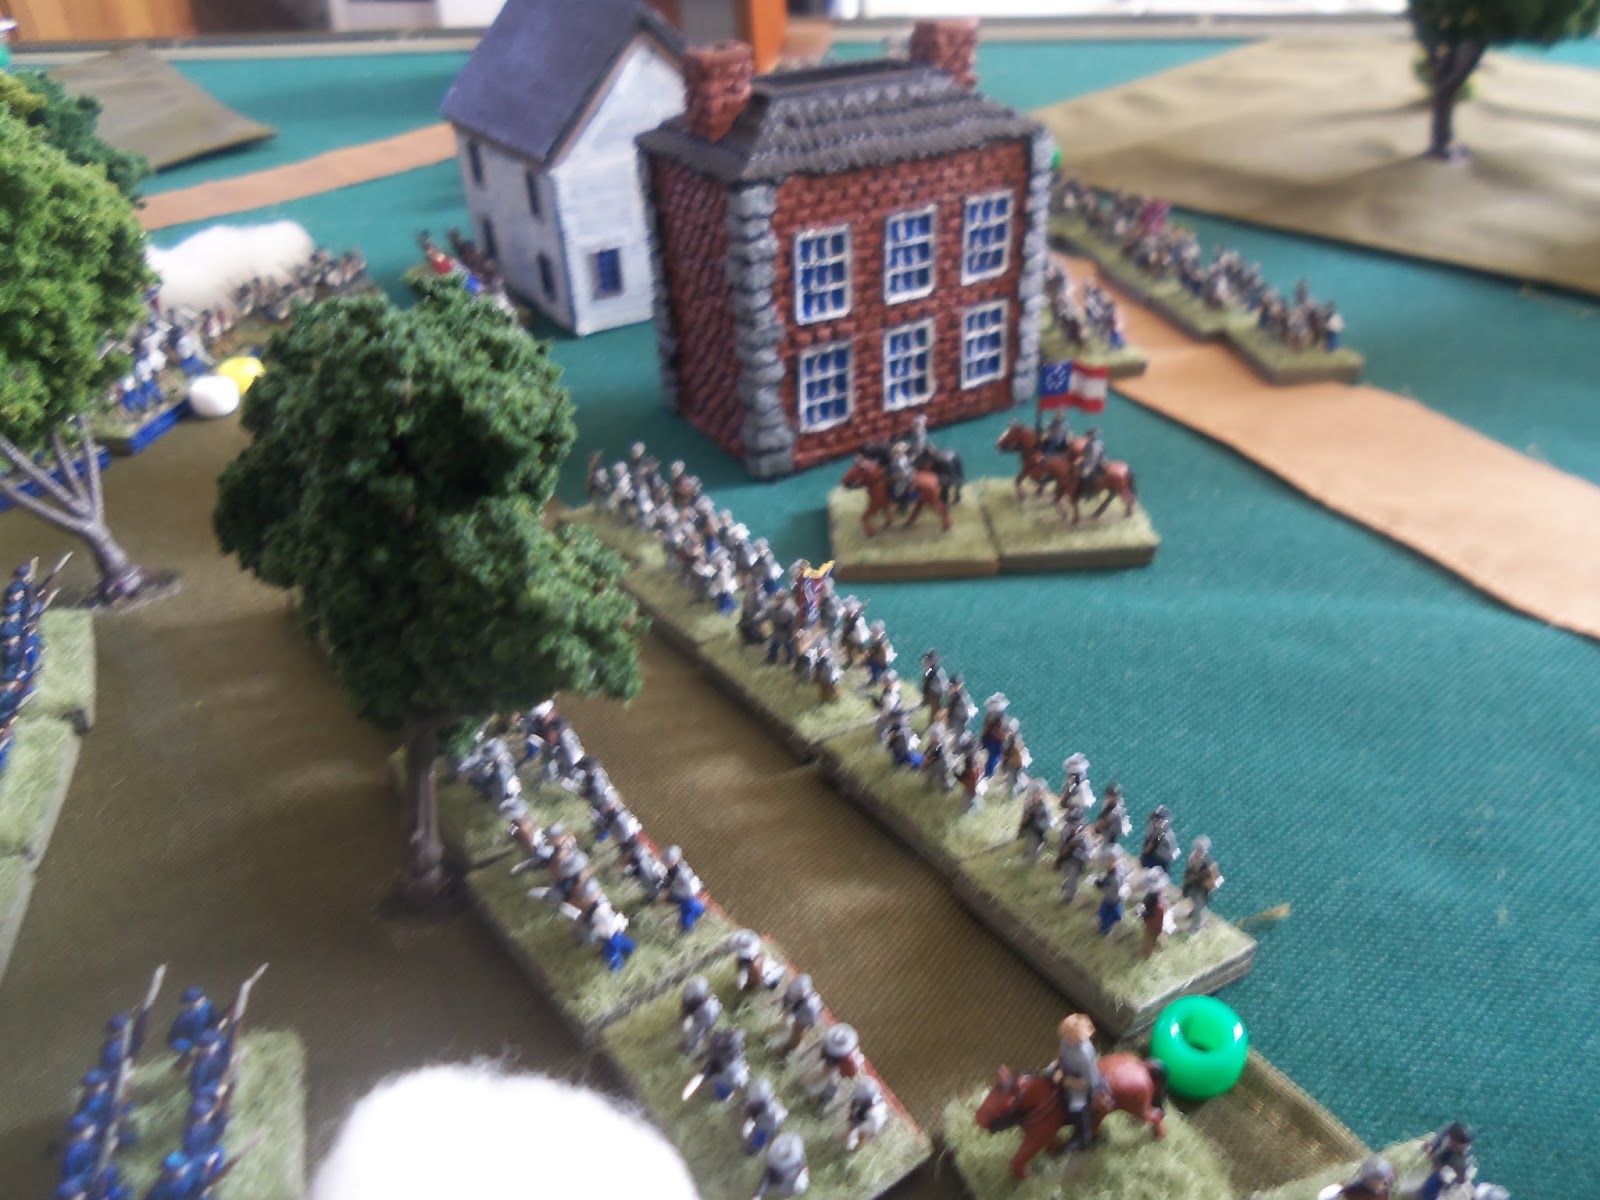
| Turn 6. Federal Initiative. The 20th Ma Infantry of Dana's Brigade inflicts heavy casualties on the 4th Alabama. In Ambercrombie's Brigade the 65th NY and 23rd PA fight it out with 47th VA and the 7th TN Infantry regiments. They Confederate Regiments return fire and manoeuvre on the field. |
 |
| Law's Brigade trying to hold the line. Hood's Texas Brigade is coming up to relieve him. |
 |
| 20th Massachusetts Infantry and the 4th Alabama locked in mortal combat. |
 |
| BG Gorman's Brigade moving into the fray. |


 |
| "TEXAS, FORWARD!" |

 |
| Johnston too close to the front. |

 |
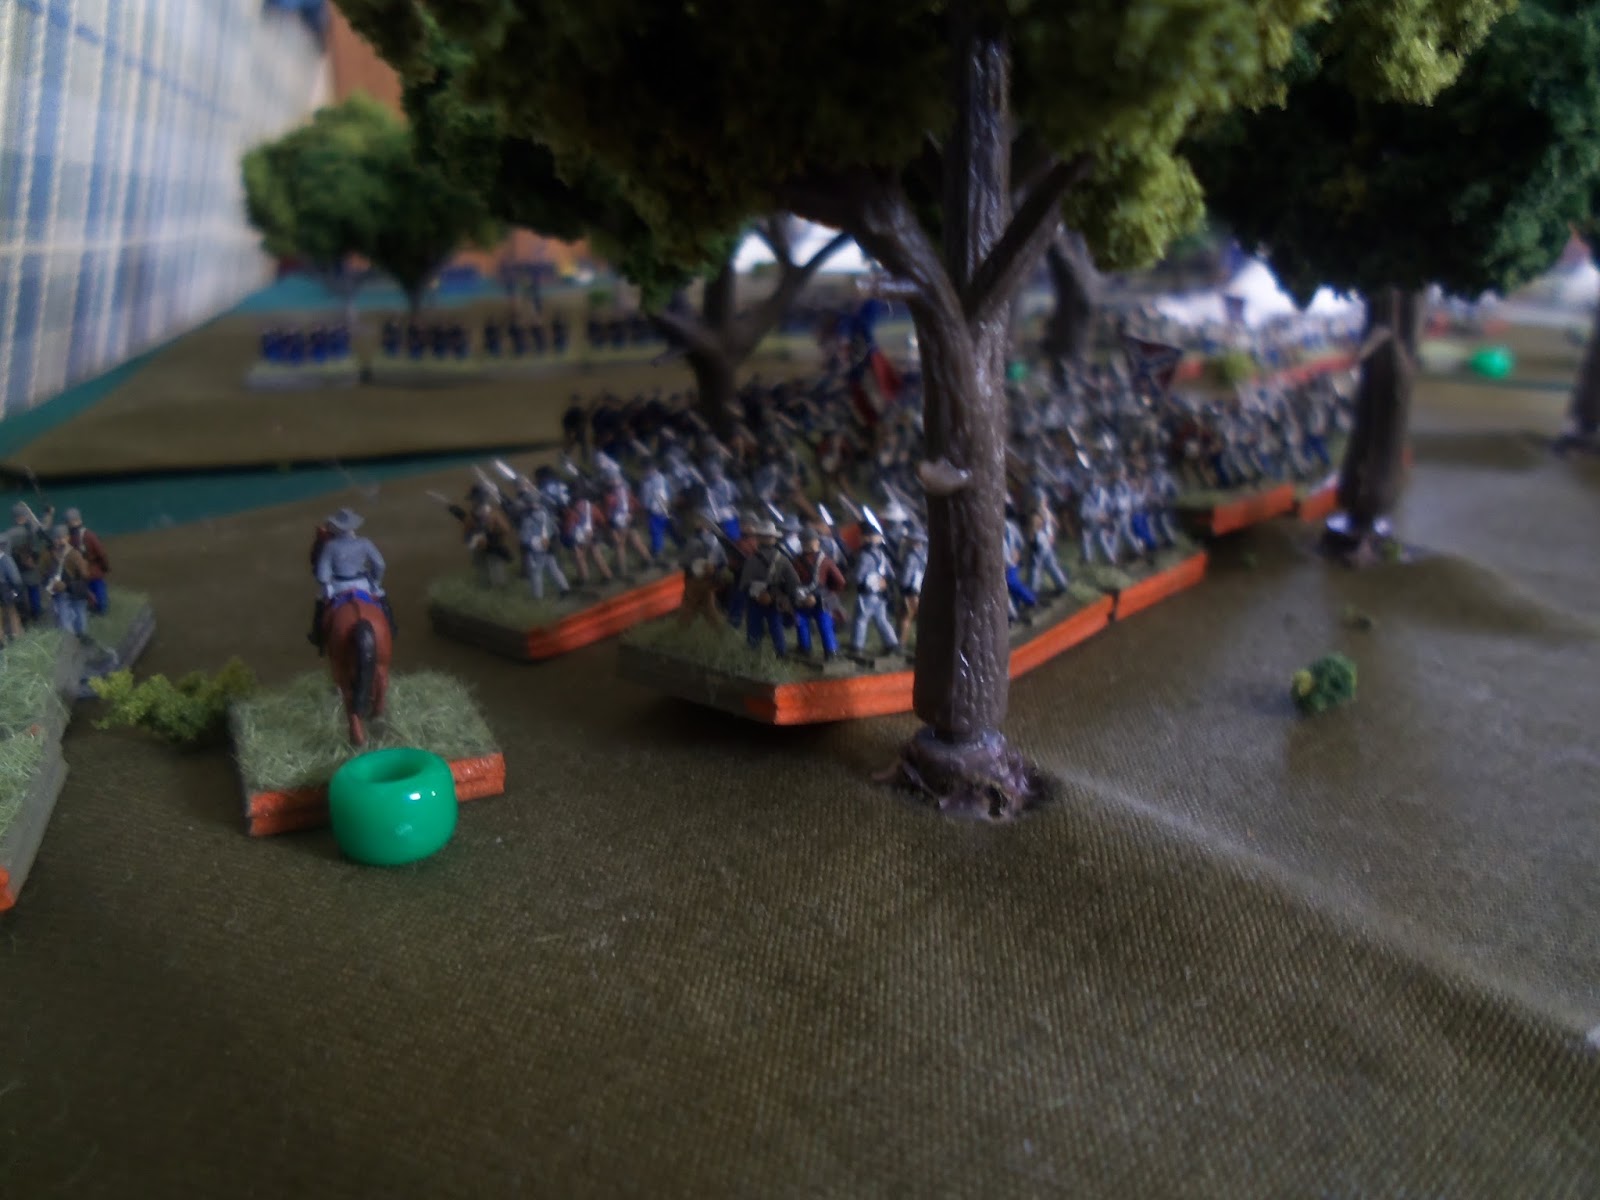
| Pettigrew's Brigade in action. |
 |
| Hampton's Brigade with the Hampton Legion in the lead. |
 |
| 1st Tennessee Infantry on the extreme left of the Confederate advance. |


 |
| BG Burn's Brigade moving toward the sound of the action. |

 |
| General Sedgwick with Gorman's Brigade. |

 |
| Turn 7. Federal Initiative. The 20th MA Infantry continues to pound on the 4th Alabama. They sustain more casualties yet they are still on the field.Gorman's 82nd NY Infantry goes into column formation and moves to extend the line beside Dana's Brigade. |
 |
| The Texas brigade muscles their way up. The 4th Texas goes into column to move forward. |
 |
| BG Hood to the rescue. |


 |
| Turn 8.Confederate Initiative. The 35th GA Infantry of Pettigrew's brigade causes the 65th NY to rout. the 7th TN Infantry of Hatton's Brigade Routs the 23rd Pen Infantry. During the Federal's turn the 20th Mass Infantry routs the 4th Alabama Infantry. This gives but a moment for the lines to straighten up and consolidate. Law's Brigade holds it's positions after the hard fight and Hood's Brigade moves up to relieve them. |


 |
| Turn 9. Confederate Initiative. The 4th TX Infantry fresh into the fight, opens up a volley on the 20th Mass Infantry. They Massachusetts Infantry Rout. |
 |
| Hood's Brigade moves forward and extends the line of battle to the south towards the rail road tracks. They face off against Gorman's Fresh Federal Brigade That has moved forward and lengthened their line. |
 |
| BG Pettigrew's Brigade has the 47th VA infantry exchanging volleys with the 61st PA Infantry of Ambercrombie's Brigade. |
 |
| BG Hatton presses his small Tennessee volunteers forward. |
 |
| BG Pettigrew encouraging his men. |
 |
| Turn 10. Federal Initiative. Ambercrombie's Brigade continues to fight. The 61st PA causes the 35th GA to become shaken. the 67th NY infantry routs the 7th TN Infantry with a devastating volley. in return the 35th GA hangs in the fight and deals a severe blow to the 61st PA Infantry. |


 |
| "MAKE READY BOYS!! Prepare to fire by Regiment!!" |
 |
| Union BG Burn's brigade faces off against Confederate BG Pettigrew's Brigade in the woods. |
 |
| The 1st Tennessee Infantry deploy on the 67th NY Infantry's right flank effectively flanking them. Preparing for enfilading fire |


 |
| Turn 11. Confederate Initiative. Hood's Brigade opens fire on Gorman's Brigade. The 1st TX and the 4th TX Infantry unleash on the 15th Mas and the 34th NY. Pettigrew's Brigade manages to rout the 61st Pa Infantry. Hatton's 1st TN infantry rake the 67th NY with withering fire. They take massive casualties. |


 |
| The setting sun brings a close to this part of the engagement. the Musketry begins to die down and the regiments involved break off contact and slowly get their lines in order. General Joseph E. Johnston, with his staff survey the lines. A Colonel on his staff told him They were too close to the front. Johnston replied. "Colonel, there is no use dodging; when you hear them they have passed." Almost immediately, a bullet hit him in the shoulder. A few moments after that, one of the last Union artillery shells fired during this days battle burst in the air, throwing shrapnel into Johnston's chest and thigh. Seriously injured, Johnston relinquished command. To his subordinate, Gustavus Smith. Smith was ill informed on the overall battle plan and suffered the equivalent of a panic attack. Confederate President Jefferson Davis relieved him shortly and replaced him with his military aid. General Robert Edward Lee. |
No comments:
Post a Comment
Note: Only a member of this blog may post a comment.